8 Tips for Making Any Woodworking Project Successful
If you’re a new woodworker, safety and precision are likely two things you keep top of mind at all times. But that’s only the tip of the iceberg. As many a skilled woodworker will tell you, any project requires your attention in several different places at once…and this can be difficult as well as dangerous.
To keep yourself sane and your fingers in place, here are a few tips to help make any woodworking project a successful one:
- Plan Head: This may seem obvious, but planning ahead is more than simply following a project plan. Sometimes, in order to preserve your tools and resources, you may have to go above and beyond to make sure you’ve got everything down pat. For instance, if you’re working with expensive wood and don’t want to waste an inch of it, it might be a good idea to mock up your project out of scrap wood just to make sure all cuts and assembly joints are correct.
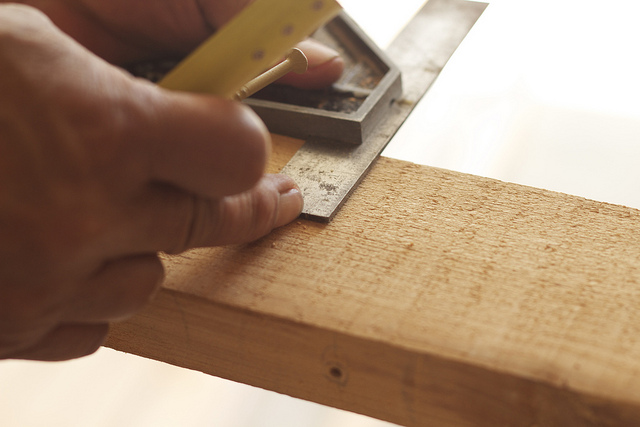
- Use a Square: Square edges and 90 degree angles are everywhere in woodworking. To achieve these accurately and with ease, invest in a quality square. Think combination square, T-square, try squares. It’s up to you to know which one best serves your project.
- Check Your Measurements: Never underestimate the power of your tape measure–it can make all the difference between a mistake and a masterpiece. Keep cutting mistakes to a minimum by double checking your measurements before you make any cuts.
- Make Test Cuts: Yes, make test cuts! Even though you’ve already measured twice, it never hurts to put your measurements to the test before moving forward on a project. Doing so will give you the opportunity to correct any mistakes or inaccuracies before it’s too late. Plus, it’ll save you a whole lot of frustration.
- Keep Tools Sharp: Speaking of test cuts, always make sure your cutting tools are sharp and in working order. Dull blades and edges will only result in rough cuts rather than the fine, smooth ones you’re looking for.
- Sand with the Grain: This is one of those fundamental things you should know if you’re going to be producing high quality work. Sanding along the grain will not only give you a smooth surface, but it’ll also keep the wood’s appearance virtually defect-free. Remember, when you go against the grain, it’s much easier to see scratches left behind by the sander, especially after staining.
- Know How to Remove Excess Glue: There are a couple of ways to approach this task. Some woodworkers like to use abrasives and others like to use the sharp end of their chisels to get excess glue out of the way. Whichever method you choose, just remember to complete this step before staining.
- Brush End to End: Keep the finish consistent by applying stain end to end in one long brush stroke. If your brush doesn’t hold enough stain to complete the distance of the stroke, brush partial strokes along the grain and then connect them with a longer stroke.
Image Credit: Limarie Cabrera