Easy Panel System (EPS) Installation Guide
This page provides a comprehensive, step-by-step demonstration of how to install the Monarch Metal Easy Panel
System (EPS).
The EPS system is a concealed fastener wall panel solution built around the MF375 Z Clip and a full range of
aluminum trims,
including edge trims, horizontal reveals, vertical reveals, and inside and outside corner profiles.
The process below covers layout, preparation, panel mounting, and final trim installation.
About the Easy Panel System
The Monarch Metal Easy Panel System is engineered to deliver a clean, premium architectural appearance while
allowing
panels to be installed, adjusted, or removed as needed. EPS is compatible with MDF, plywood, HPL, and other
common
panel materials in the 1/2 inch to 3/4 inch range. Select profiles also support 3/8 inch material.
Panels that cannot accept mechanical fasteners—such as acrylic, glass, or ACM—may be installed using MFTAPE
2-inch.
System Components
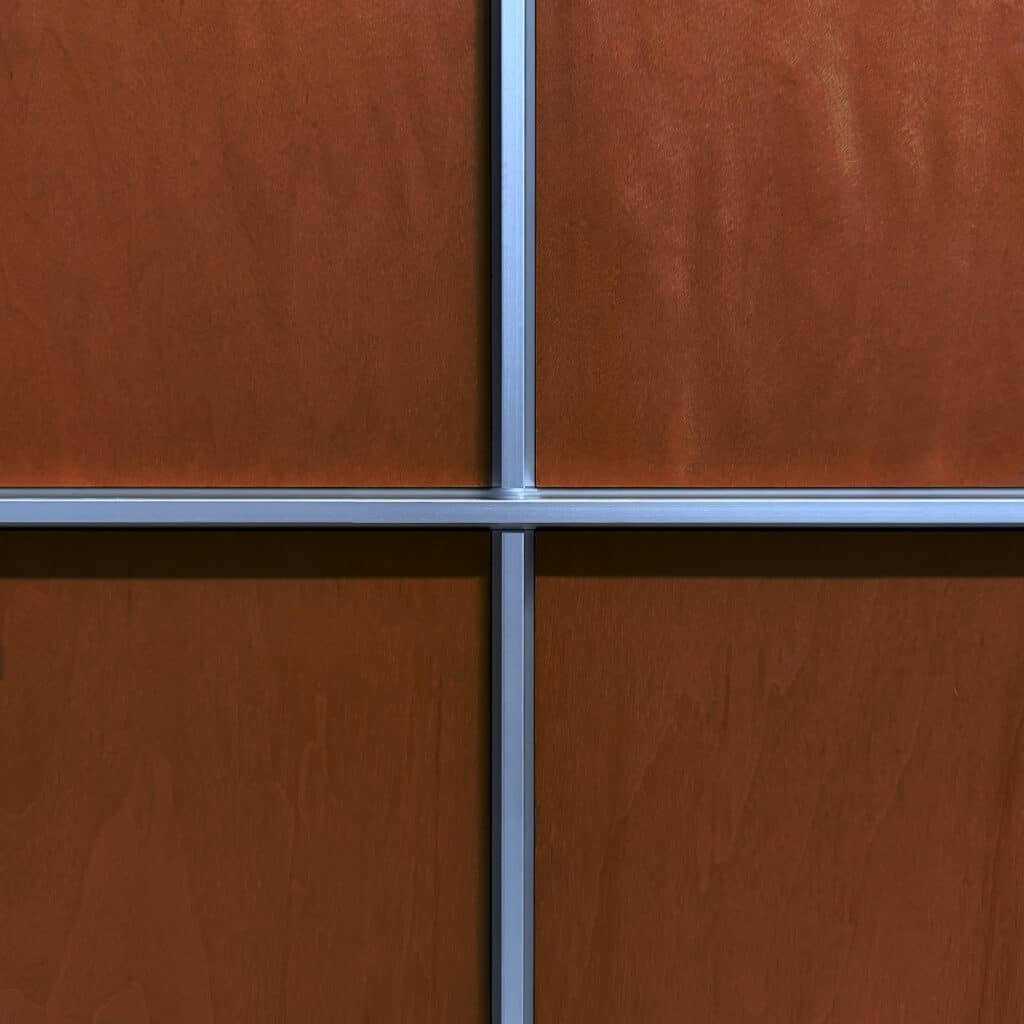
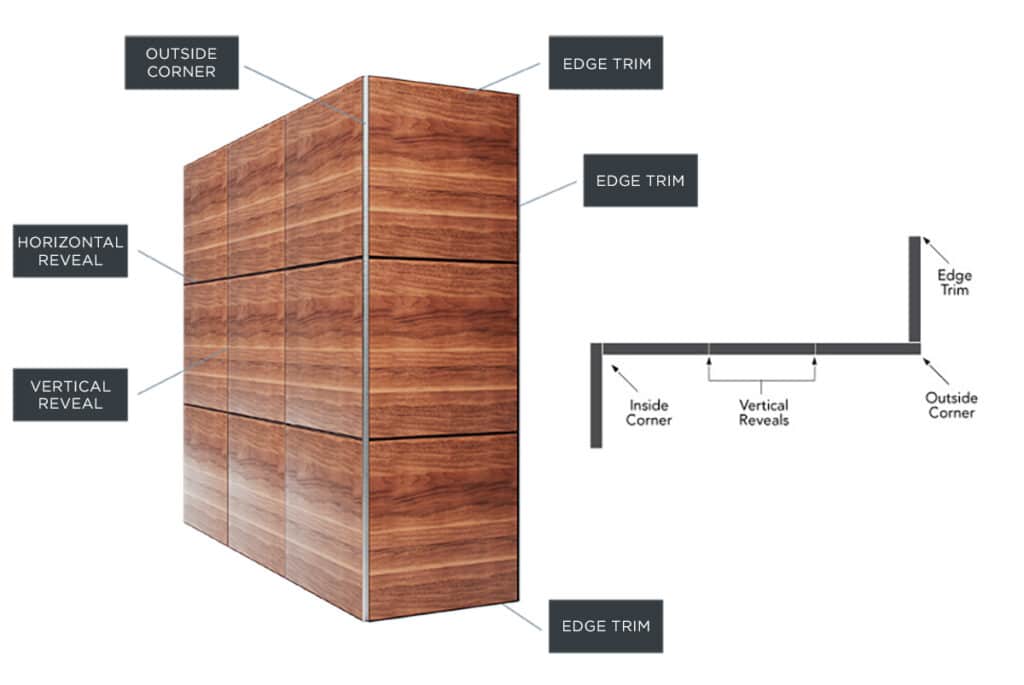
- Edge Trims: Finish exposed panel edges and define the system perimeter.
- Horizontal and Vertical Reveals: Create consistent spacing and support the panel layout.
- Inside and Outside Corner Trims: Provide clean transitions at corner conditions.
- MF375 Z Clips: Concealed engagement system securing panels to the wall.
- Midwall Rails: Provide additional support for larger or taller panels.
- Adapter Clips: Allow different panel thicknesses to work within the same system profile.
Pre-Installation Requirements
Before beginning installation, the mounting surface must be clean, flat, and free of debris.
Any high or low spots in the wall should be identified and corrected or shimmed.
To minimize post-installation panel movement, EPS should be installed after building HVAC
systems are operational and humidity levels are stable.
Step-by-Step Installation
1. Prepare the Mounting Surface
Confirm that the wall surface is flat, plumb, and clean. Address any irregularities using shims
to ensure a smooth and level installation surface.
2. Install Bottom Edge Trims
Installation begins at the base of the wall. Bottom edge trims should be fastened directly into studs
and installed perfectly level, as they support the first row of panels.
Corner trims should be installed before bottom trims when applicable.
3. Install Inside and Outside Corners
Corner trims provide the system’s starting alignment point. They must be installed plumb and square.
When joining an edge trim to a corner trim, notching or coping the edge trim ensures a clean, precise
fit.
4. Attach Z Clips to Panels
Every panel requires at least two rows of MF375 Z Clips.
The lower clips carry the panel’s weight, while the upper clips support the next horizontal reveal.
All clips must be aligned consistently across the full panel set.
5. Install the First Row of Panels
Set the first panel row onto the bottom edge trim.
If the design includes vertical reveals, insert them while positioning each panel.
6. Install the First Horizontal Reveal
The horizontal reveal engages with the upper Z Clips on the first row of panels
and supports the next row. Fasten the reveal to studs behind the system.
7. Continue Installing Rows
Repeat the installation process for each subsequent row.
Install panels, insert vertical reveals where required, and attach the next horizontal reveal.
Continue until the installation reaches the top of the wall.
8. Install the Top Edge Trim
The EPS system typically requires at least 3/8 inch of clearance above the top edge trim
to allow the trim to slide into place and engage the upper Z Clips.
When lift-off clearance is limited, 3M Dual Lock may be used as an alternative fastening method.
Cutting and Fitting Trims
Horizontal reveals should be cut so the reveal section remains intact and visible.
Edge trims may be mitered at 45 degrees for clean joins.
Notching or coping is recommended when fitting edge trims against corner trims.
Additional Notes
Midwall rails are recommended for tall or wide panels that benefit from additional support.
Full-length trim pieces generally offer the best visual results.
Splicing is used only when lengths exceed stock material limits.