
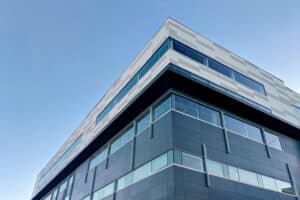
The Space Between: Rainscreen Basics
A rainscreen is a pretty simple concept. It’s the space between. Most experts in the industry will say that a rainscreen gap is a drained
Reasons to Choose Liquid WRBs for Commercial Projects
A liquid-applied Weather-Resistant Barrier (WRB) is a type of building envelope material used to protect a structure from the elements, such as rain and moisture.
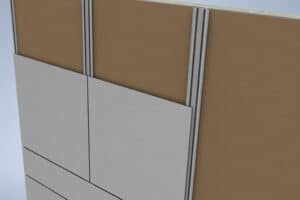
A Sticky Solution for Cladding Installation
Adhesive cladding systems have become increasingly popular in construction due to their many advantages over traditional mechanical fasteners. These systems are used to attach cladding
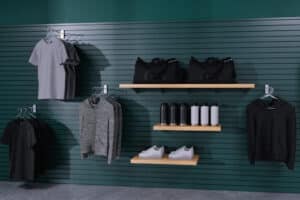
Why Choose Aluminum Slatwall Over Wood-Based Slatwall?
Why choose aluminum slatwall over wood-based slatwall? Slatwall is used in many different environments, and we’re confident that everyone can benefit from durable, flexible, and

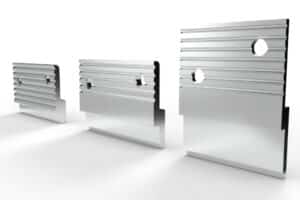
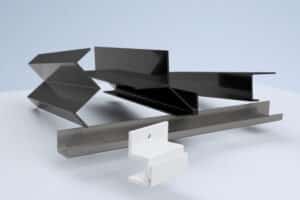
Monarch Metal Inc. Now Accepting Custom Extrusion Requests
Monarch Metals has over 30 years of experience in the metal fabrication industry, and a major component of that experience lies in aluminum extrusion design
Monarch Metal Inc. Launches Online Ordering For Select Metal Hanging Solutions
RONKONKOMA NEW YORK, October 26, 2022 — New York based metal fabrication company, Monarch Metal Inc. has unveiled upgraded functionality to their website, offering customers the

Monarch Metal Opens New Manufacturing And Shipping Location In Grand Prairie, Texas
The leading metal fabrication company expands to the South & Midwest GRAND PRAIRIE, TEXAS; January 3, 2022 — Monarch Metal announced today the opening of
Monarch’s New Time, Labor, and Lumber-Saving Trespa Pura System
New for Winter 2021, Monarch Metal is excited to release it’s new support system for Trespa Pura NFC. Monarch’s new system simplifies the installation of
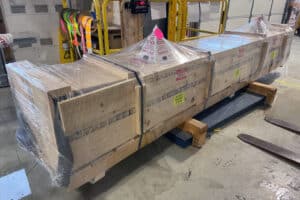
The Importance Of Properly Packaging Orders For Shipping And Transit
Why Packaging Project Orders Properly Is Important It’s extremely important that customers receive orders on time and in excellent condition. Receiving damaged items can quickly

Industry Interview with Andrew Morris of Chemical Concepts
In this Industry Interview, Monarch Metal CEO Brandon Bingham speaks with Andrew Morris of Chemical Concepts, www.chemical-concepts.com. They specialize in fasteners, specialty hardware, and adhesives.

Monarch Metal Opens New Manufacturing And Shipping Location In Sparks, Nevada
The leading metal fabrication company expands to the West Coast SPARKS, NEVADA, February 25, 2021 — Monarch Metal announced today the opening of a new

3 Reasons Steel Prices Skyrocketed in 2020
Raw material prices for steel have increased about 60% from the pre-pandemic low in 2020. Prices in the US are forecasted to continue their upward

Intro to the Deform-Nut
What is the Deform-Nut? The Deform-Nut is a type of mechanical fastener that has a collapsible chamber. Once inserted into the material that is to

Intro to Honeycomb Panels and Uses
What are Honeycomb Panels? Honeycomb panels are sturdy and lightweight building materials often used in the exterior cladding market. The panels get their name from

Industry Interview with Kevin Scott of Cannan Alexander & Scott
In this Industry Interview, Monarch Metal CEO Brandon Bingham speaks with Kevin Scott of Cannan Alexander & Scott http://www.casreps.com, a manufacturer’s representative firm that specializes